


We have been asked to develop a new solution to grouting outdoor porcelain paving. After a long, painstaking research and development phase – we are excited to finally launch our brand new product for professional pavers and landscapers.
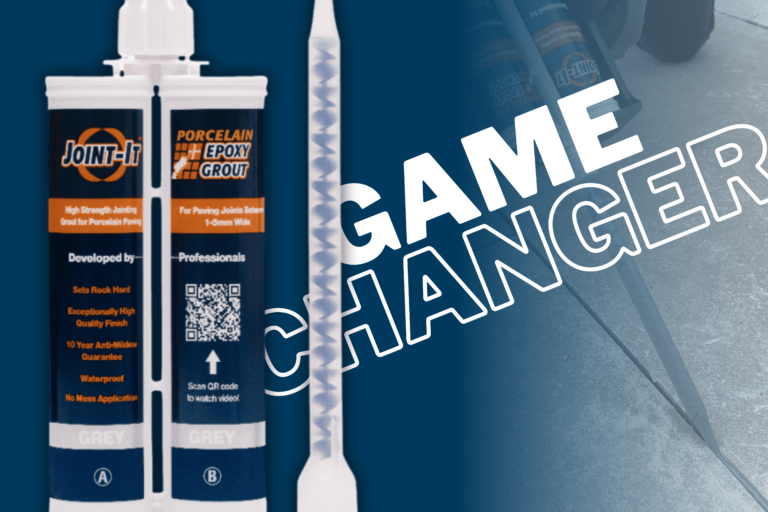
Joint-It Porcelain Epoxy Grout is unlike any other jointing product on the market for outdoor porcelain patios.
Three Colours:
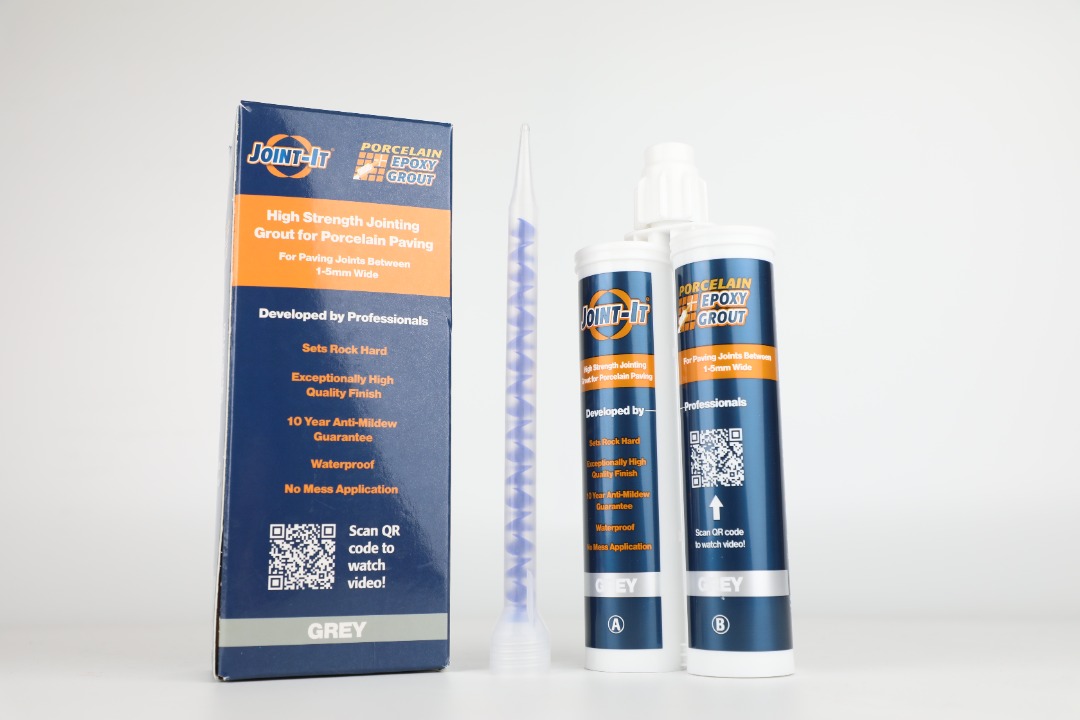
Joint-It Porcelain Epoxy Grout is available in Tan, Grey and Raven.
We have developed a product for you that is:
- Extremely High Strength
- A No-Mess Application
- Non-Staining
- Cement-Free
- Long Lasting
- Anti-Mildew
- Colour-Fast
- Durable
No More Messy Clean Up
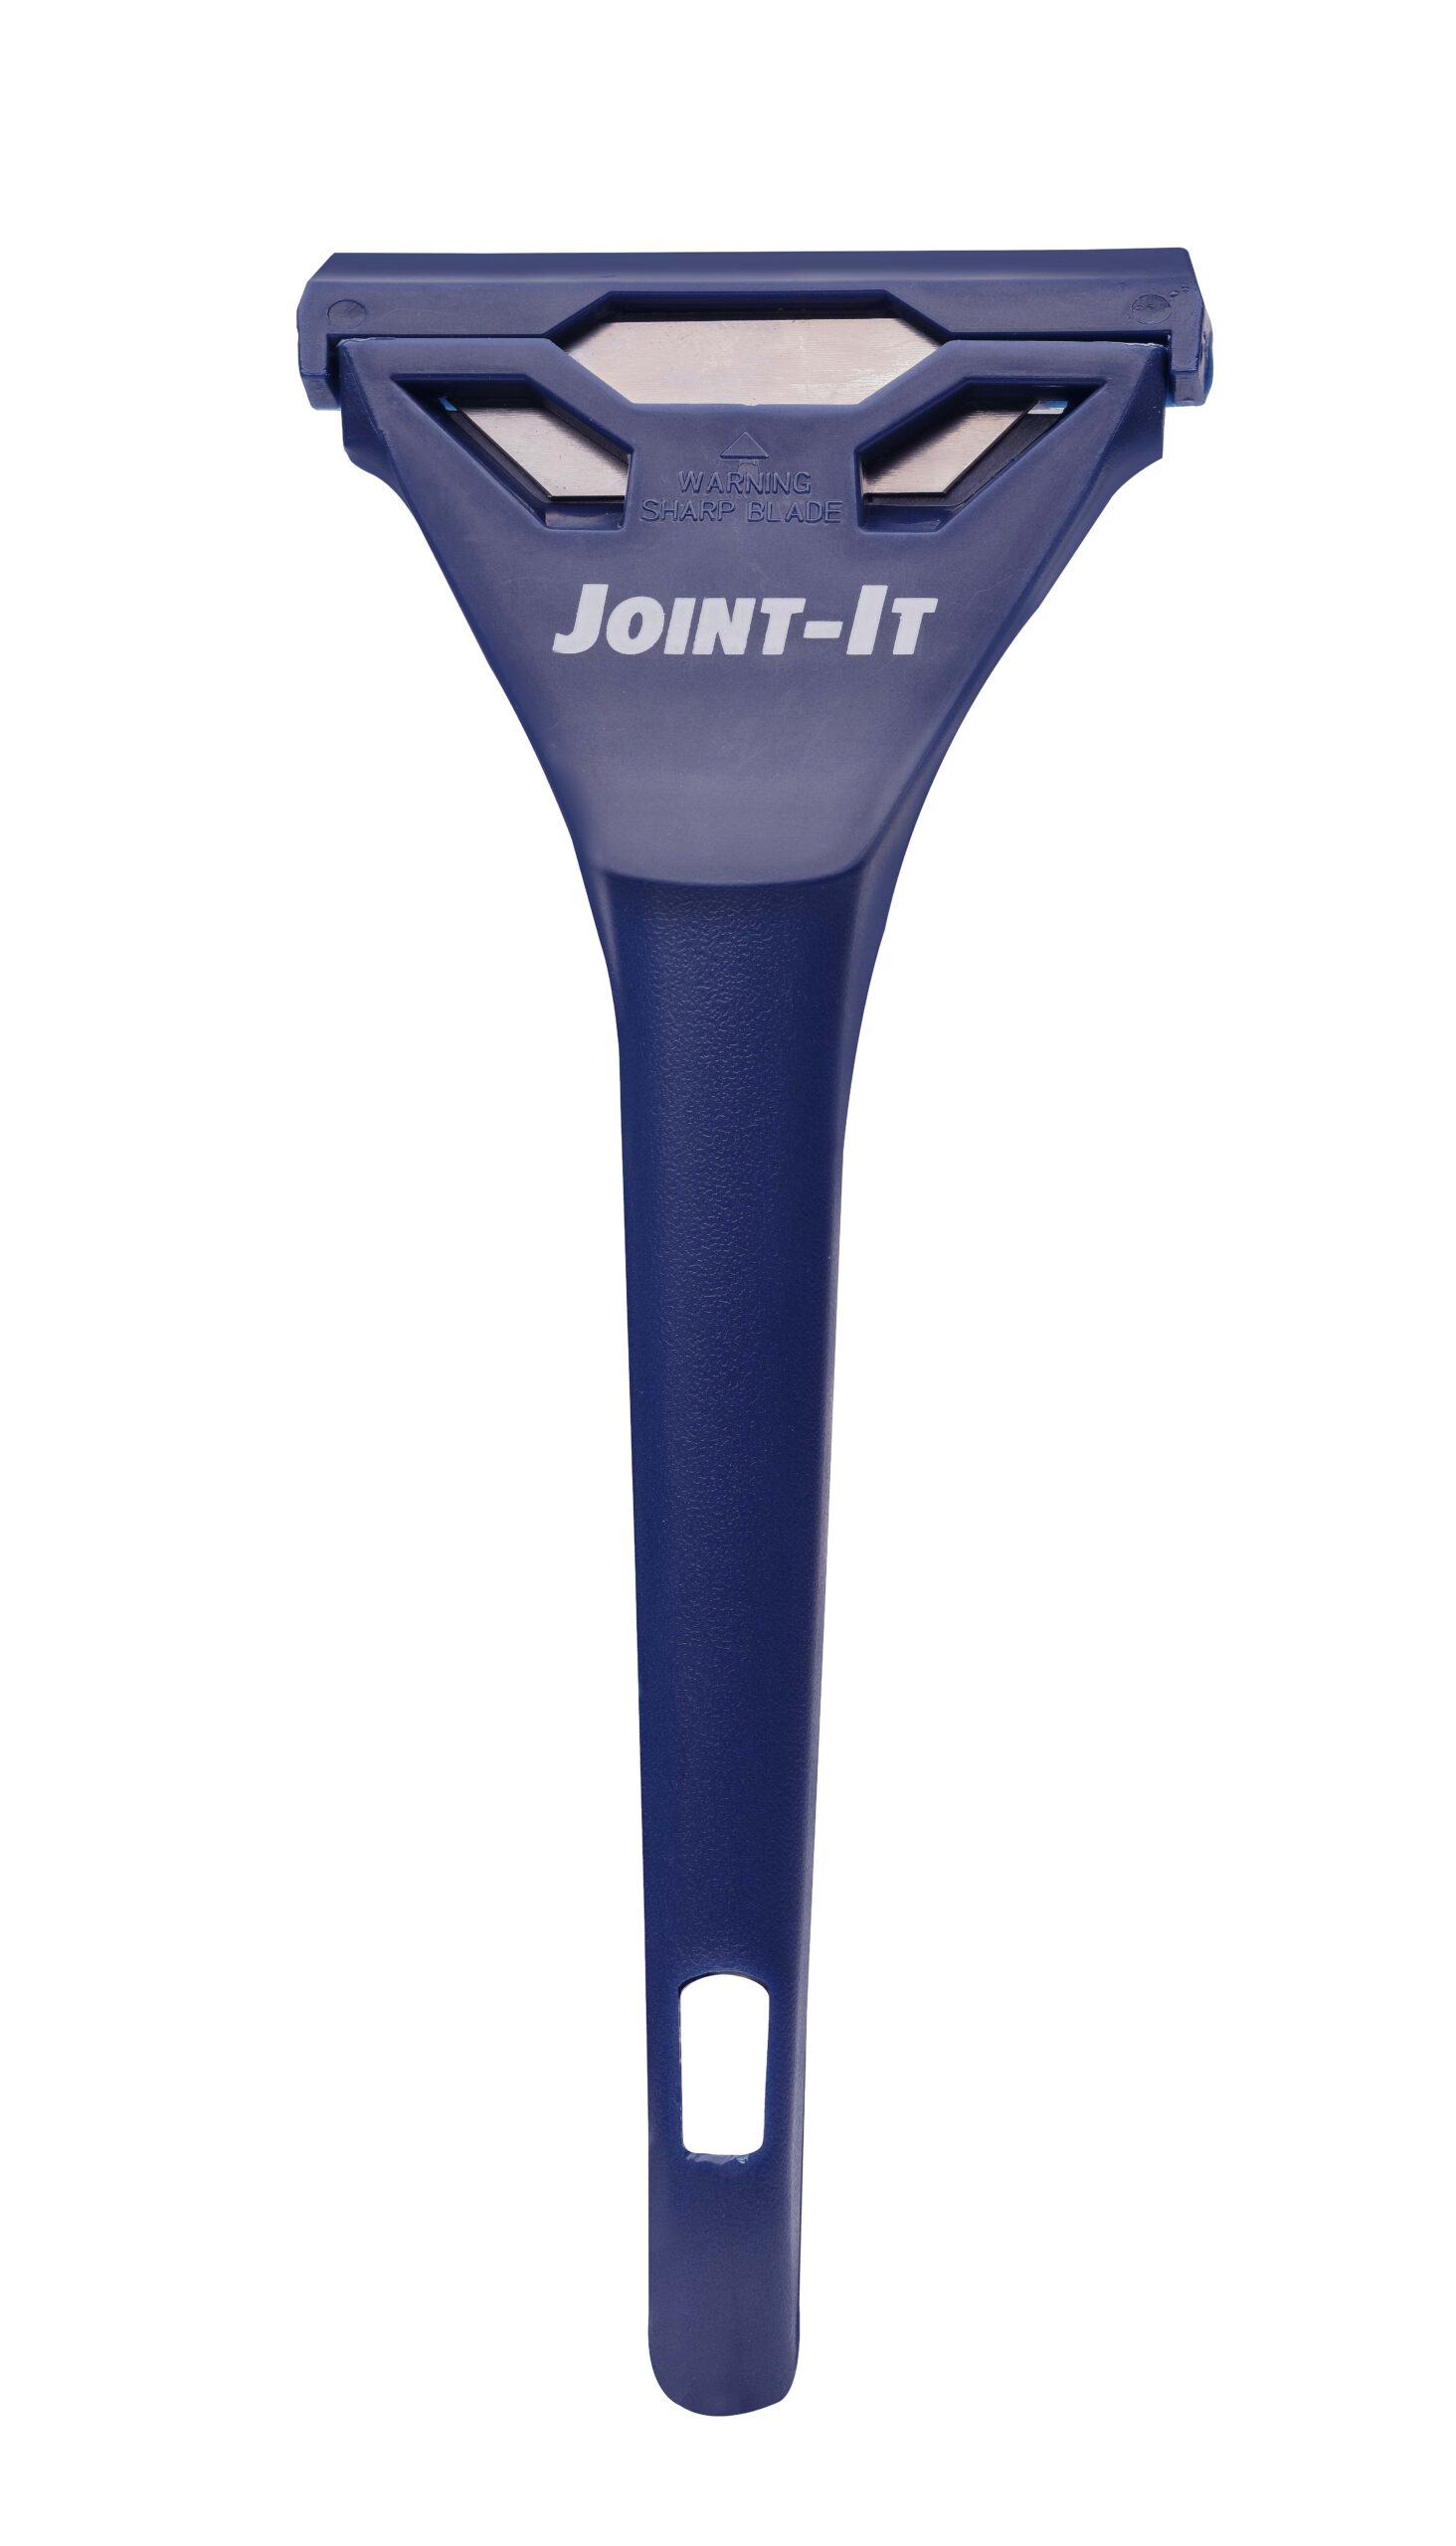
Gone are the days of racing against the clock to wash cement-based grouting products off your porcelain paving before it stains. Joint-It Porcelain Epoxy Grout just peels right off with a blade. Clean and simple jointing!
Incomparable Strength
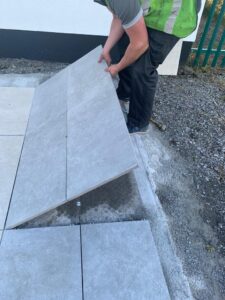
The strength and durability of this product is like none other.
Just look at how it bonded these large porcelain slabs together when we tried to lift this patio during our testing phase.
Extremely Low Maintenance
Part of the reason porcelain paving has become so popular is due to its easy-to-keep-clean benefits. Until now, there was no grouting product on the market that was completely rock solid/non-permeable and would not absorb any dirt and grime.
Dog and cat urine have an acidic pH that can cause serious damage to slabs and joints, especially if not cleaned right away, leading to both aesthetic and financial damages. Urine can cause corrosion, so having your slabs sealed can prevent this from happening. If you have pets who frequent your paving or patio, it is good practice to wash it every few days to prevent long-term damage to the joints and slabs.
For top tips, watch our Joint-It Tips & Advice videos.
Download our safety data sheet today for more information.
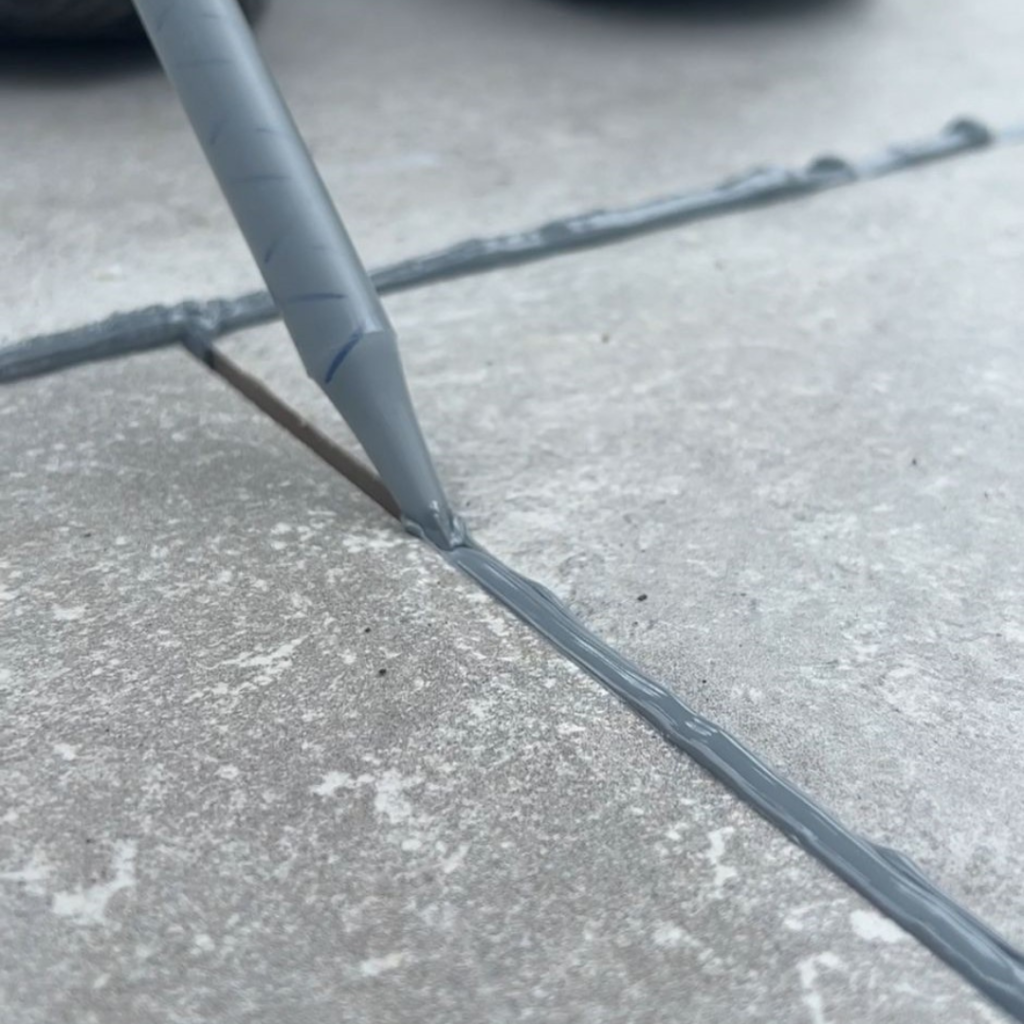
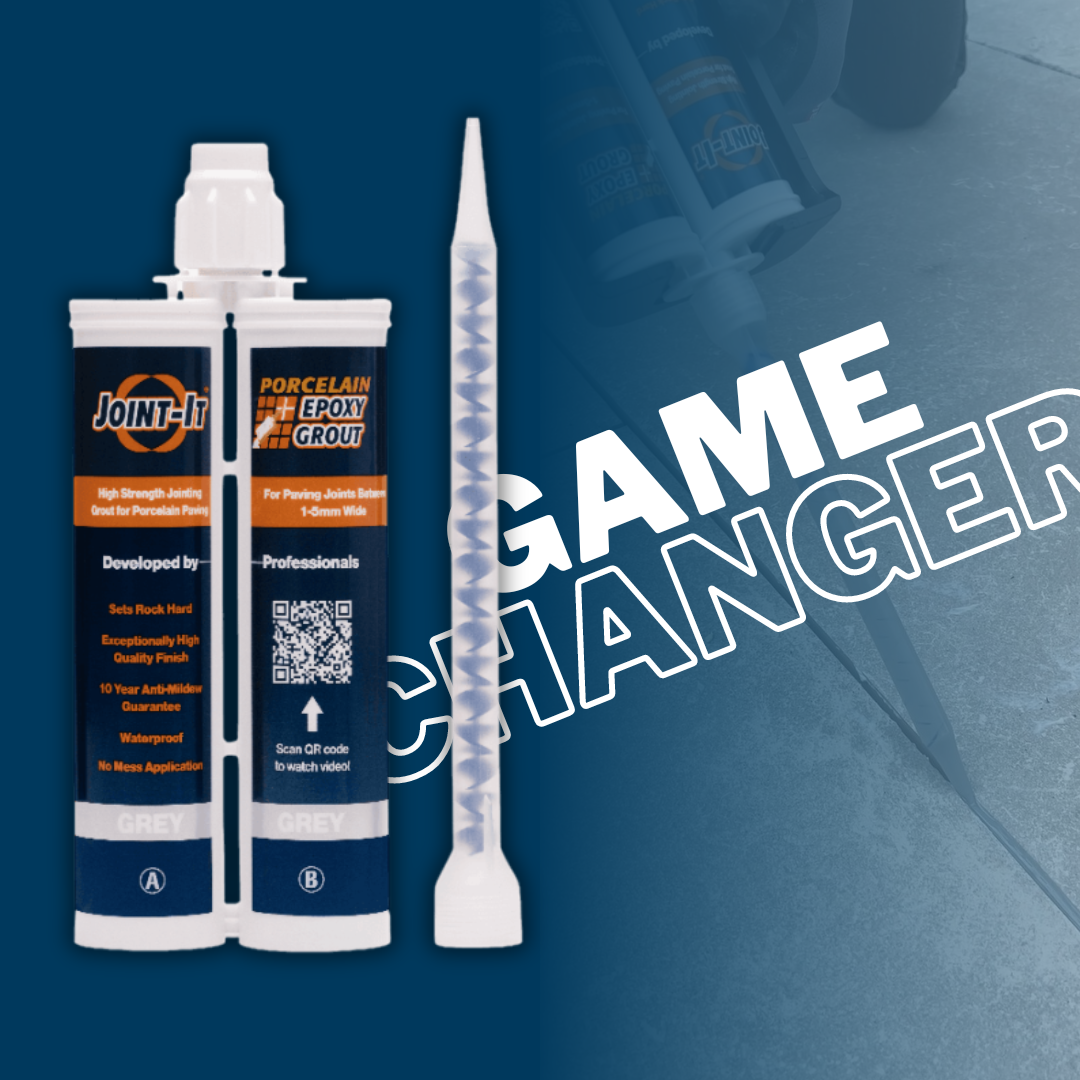
Joint-It Porcelain Epoxy Grout is an innovative 2-part epoxy grout specifically designed for outdoor porcelain paving with small joints. With exceptional bonding characteristics, this product is a super strength, non-staining, non-permeable solution to grouting porcelain.
- Sets Rock Hard
- Exceptionally High Quality Finish
- Anti-Mildew for 10+ years
- Waterproof
- No Mess Application
- Very Long Lasting & Durable
- Colour Fast
- Simple to Apply
- Non Staining
- Not Time Sensitive
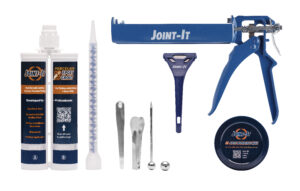
WHAT YOU WILL NEED:
- Joint-It Porcelain Epoxy Grout (as many tubes as you need to complete the job).
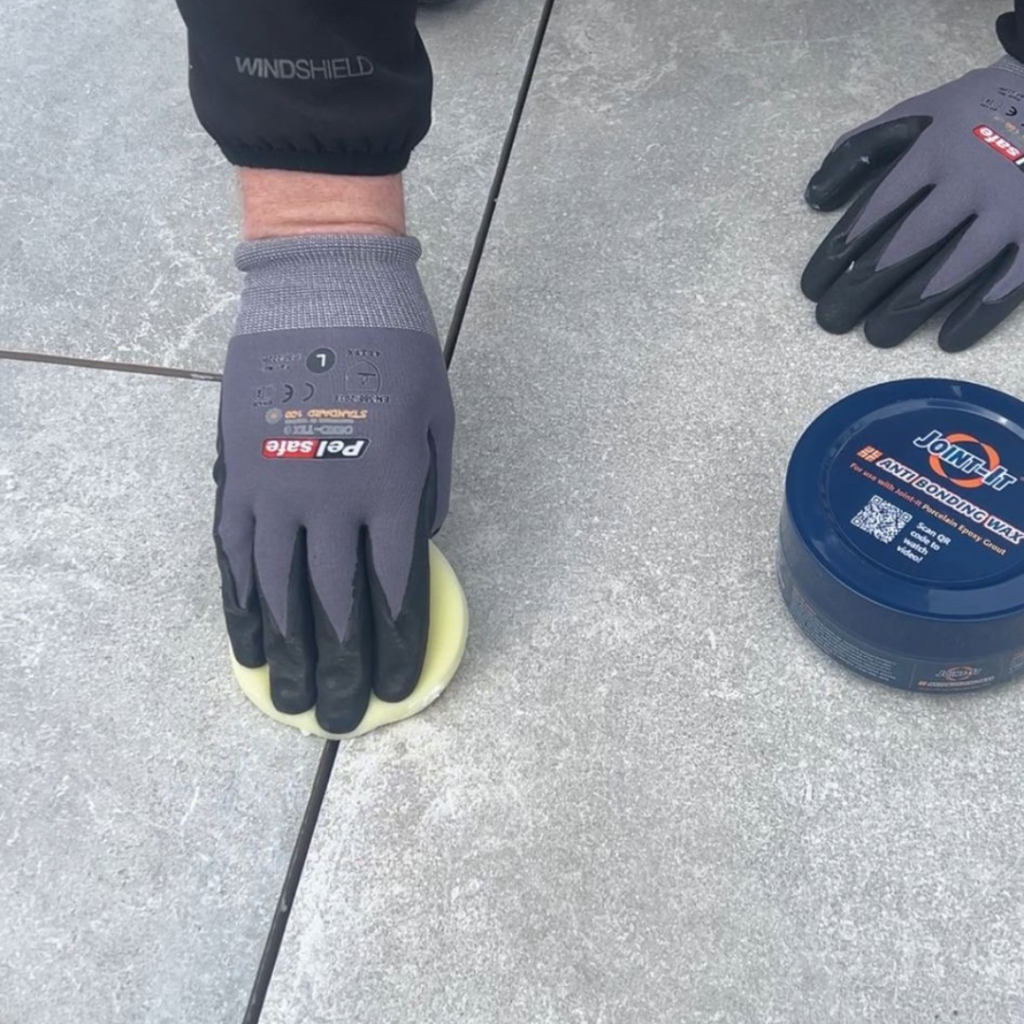
- Joint-It Anti Bonding Wax
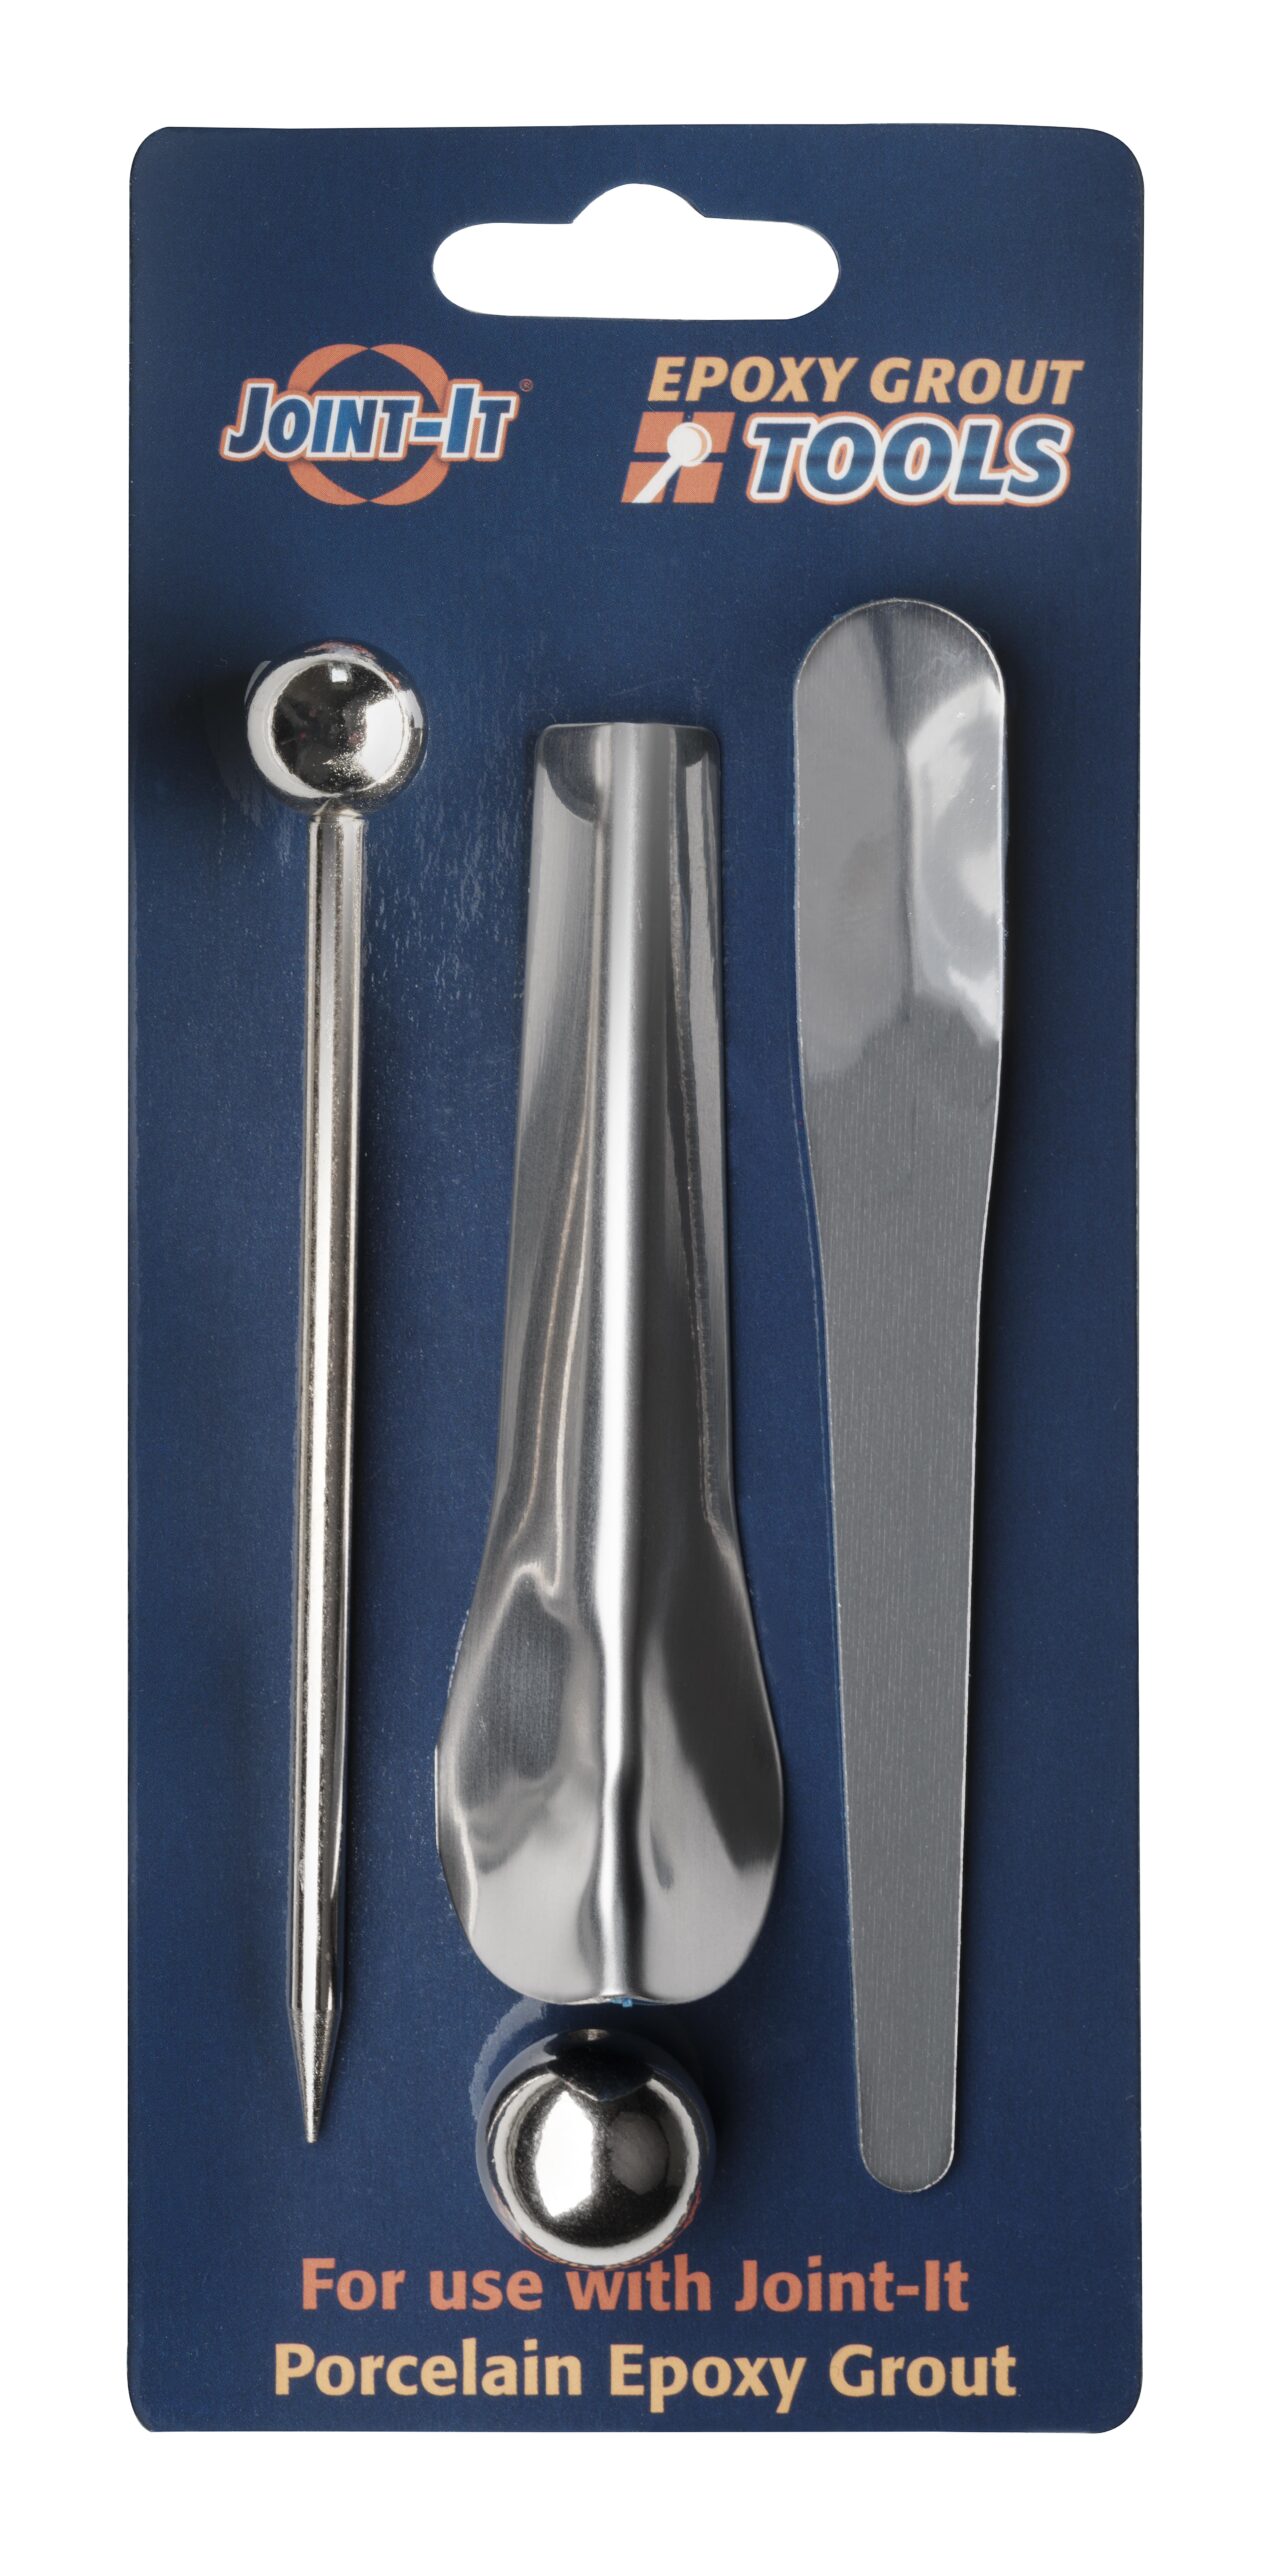
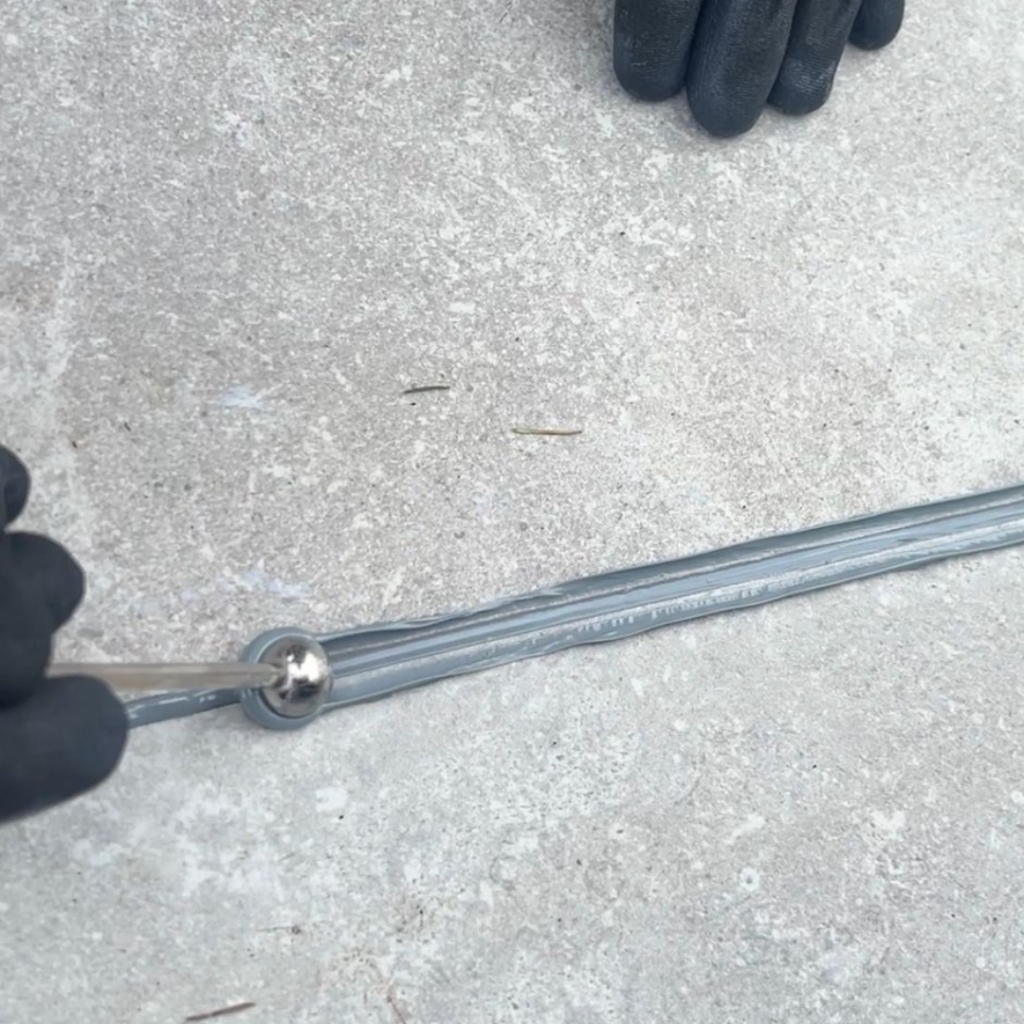
- Joint-It Epoxy Grout Tools
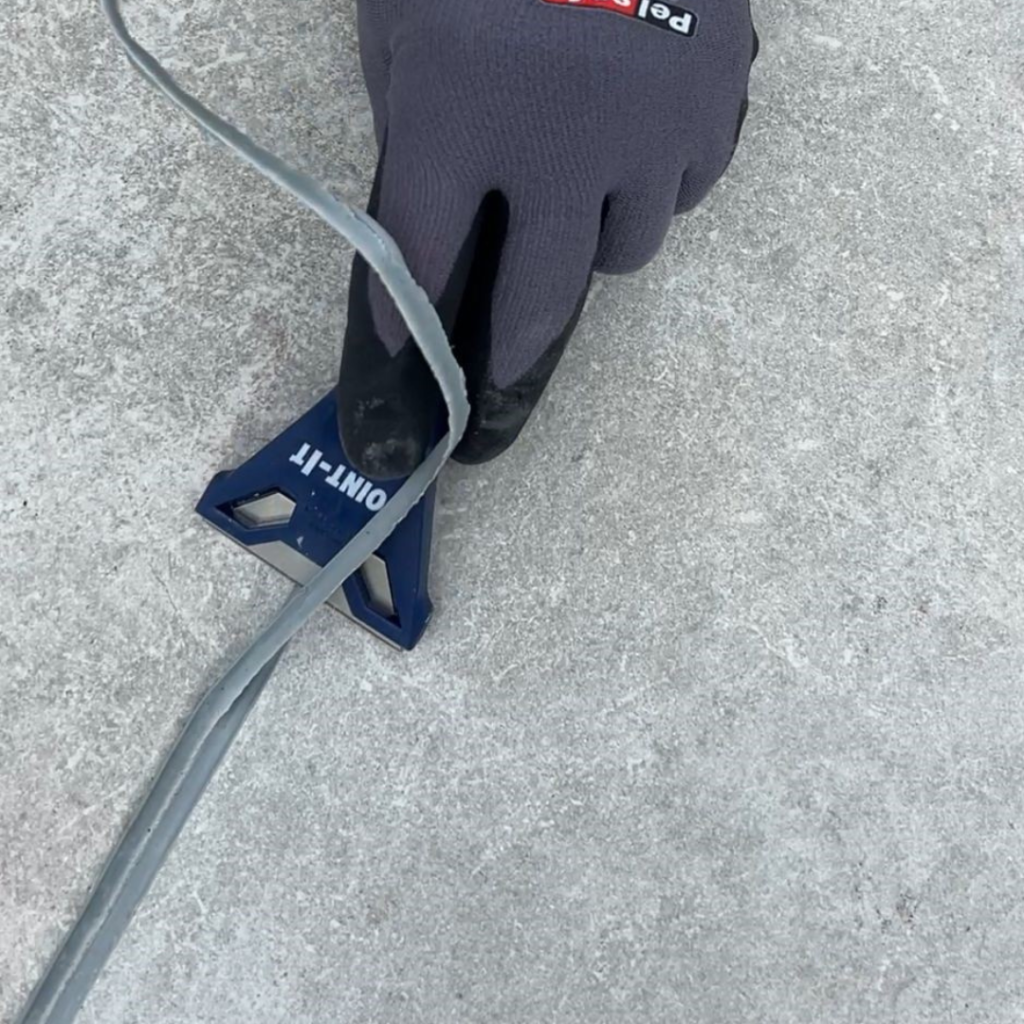
- Joint-It Epoxy Grout Scraper (or any scraper/blade you have already)
- Either a Joint-It Manual or Electric Application Gun
Each unit/tube of Joint-It Porcelain Epoxy Grout will cover up to approximately 2m². Coverage depends on the width of the joints and the size of the porcelain slab.
If you have any leftover product within a tube, you can put the cap back on and use within 1 month on a different patio.
Yes – Joint-It Porcelain Epoxy Grout is resistant to up to 7500 PSI water pressure where application guidelines have been followed correctly.
Visit our store locator to find your nearest stockist, or ask your local supplier.
If you need assistance locating this product, please contact us at sales@jointit.com or call us.
This product is available in three colours: Tan, Grey and Raven.
The colour on the box of Joint-It Porcelain Epoxy Grout indicates the colour of the product inside.
Each tub of Joint-It Anti Bonding Wax will cover approximately 50m2.
In some cases the product may initially have a slightly glossy appearance, but this will tone down after a few weeks to a matte finish.
This product can be used to:
Adhere paving slabs to a wall on a small area (as long as the area is dry).
Joint-It Porcelain Epoxy Grout can be used only on a surface where the finishing scraper can be smoothly pulled across the top of the paving to scrape off the excess. It cannot be used on paving where the edge of the stone has a handcuff finish.