
Laying a porcelain patio takes precision. Unlike natural stone, porcelain slabs are manufactured with exact dimensions, which means any unevenness in joints or lippage will be noticeable. That’s why tile spacers and levelling caps are essential tools. They help you maintain consistent joint widths, keep slabs level, and achieve a professional finish every time.
In this guide, we’ll walk you through the step-by-step process of using tile spacers for porcelain patios, highlighting how the Joint-It Tile Spacers & Levelling Caps system makes installation faster, easier, and more durable.
Why Use Tile Spacers for Porcelain Patios?
Porcelain patios are loved for their sleek, modern look, but this also makes precision critical. Uneven spacing or lifted edges not only ruin the finish but can cause long-term durability issues.
Using tile spacers ensures:
- Uniform grout joints across the patio
- Secure, stable slabs with no slippage
- A perfectly flat surface when combined with levelling caps
- Professional results, whether you’re a DIYer or contractor
Step-by-Step Guide: How to Use Tile Spacers
Step 1: Position the Spacers
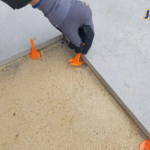
After bedding your first slab, slide tile spacers directly beneath the exposed edges. Make sure they’re in full contact with the tiles and not sitting in the adhesive. Adjust placement depending on the size of your porcelain slabs and chosen joint width (Our spacers are available in 3mm and 5mm sizes).

Step 2: Add the Adjacent Slab
Lay the next porcelain slab firmly against the spacers already in position. This ensures a consistent joint gap, making grout lines even and professional.
Step 3: Secure the Slab in Place
Tap the slab gently with a rubber mallet, or slide it back and forth slightly, to bed it firmly into the adhesive and achieve contact without disturbing the spacers.
Step 4: Fit the Levelling Cap
Once your tiles are aligned, twist a Joint-It Levelling Cap onto the spacer. Tighten it until both slabs sit flush, eliminating any risk of lippage. Repeat along each joint until the entire row is level.
Step 5: Remove after Curing
Allow the mortar to set fully according to manufacturer’s guidance. Once cured, gently release and remove the levelling caps as they can be reused. Finally, snap off the tile spacers in line with the joint. The result: even joints, a flat finish, and a porcelain patio that looks like it was laid by a professional.
Pro Tips for Perfect Results
- Always check levels with a spirit or laser level as you go.
- Work in small sections so your adhesive doesn’t set before you’re finished.
- Use extra levelling caps on larger-format porcelain slabs for maximum stability.
- Stick to the recommended joint width for your slabs, often 2–3mm for porcelain.
Why Choose Joint-It Tile Spacers & Levelling Caps?
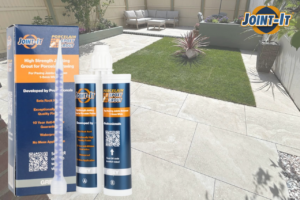
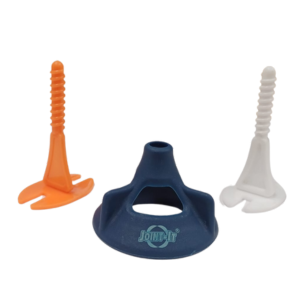
The Joint-It system combines strength, durability, and ease of use. Designed with reinforced fibres for extra toughness, our tile spacers deliver consistent joint widths, while the reusable levelling caps prevent lippage. Suitable for porcelain, ceramic, and natural stone, they make every patio project easier and more reliable.