Prepare the Ground For Patio Installation

A successful patio or driveway starts with meticulous ground preparation. Like any well-executed project, the key to a long-lasting, attractive patio is in the groundwork. Preparing the ground properly is crucial to avoiding common issues that arise from improper base construction. Let’s explore the essential steps for getting your patio project off to a solid start.

When paving projects fail, it’s rarely an issue with the materials themselves—whether flagstones, block paving, or setts. Most problems arise from the groundwork, specifically the layers beneath the paving. Understanding the basics of a patio’s build-up can help you avoid costly and frustrating issues, whether you’re taking a DIY approach or hiring a professional installer.

Avoiding Common Pitfalls in Patio Construction

Step 1: Remove all Vegetation

The first rule of ground preparation is to start with a clean slate. Vegetation, including grass, weeds, shrubs, or even the remnants of old flower beds, should be completely removed. Organic materials decay over time, which means any vegetation left beneath your patio will break down, causing the ground to settle unevenly and your paving to shift or sink.

Tip: Clear an area that’s slightly larger than your planned patio size to provide working space. For example, if your patio will be 4m x 5m, extend your cleared area by at least 250-300mm on each side.

remove vegetation patio preparation groundworks

Step 2: Remove Topsoil

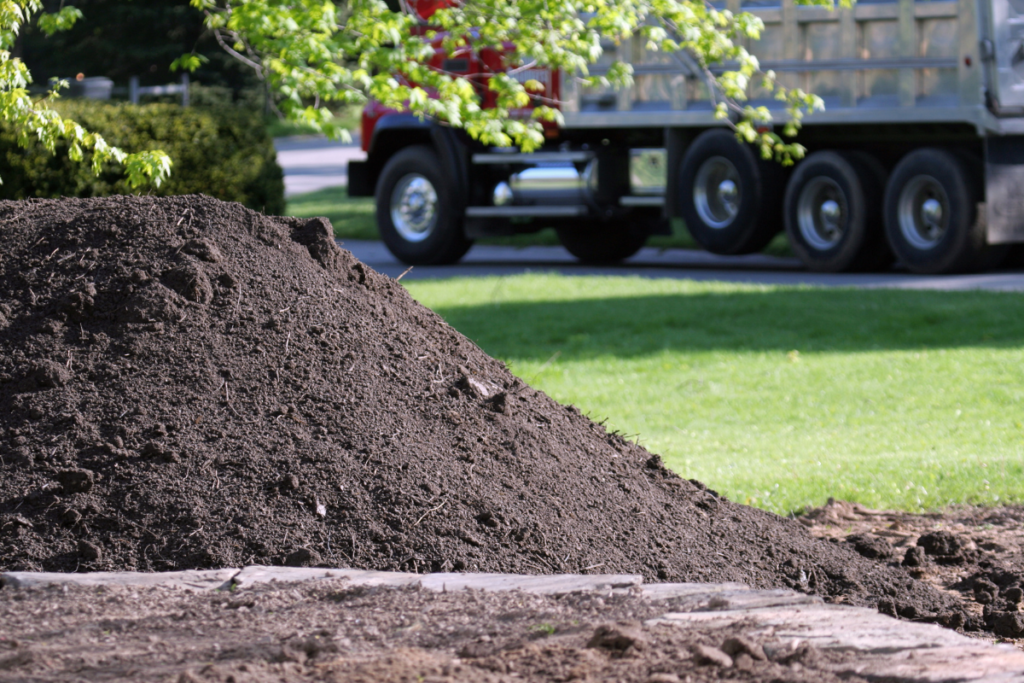
Topsoil, while great for growing plants, is a poor foundation for paving due to its high organic content. Over time, the organic material in topsoil will break down and shrink, leading to a soft, unstable base for your patio. As you remove vegetation, continue digging to remove all topsoil within the extended patio area until you reach the subsoil layer below.

Identifying Topsoil vs. Subsoil:

Topsoil is usually dark brown to black due to organic matter, while subsoil is typically lighter and denser. The subsoil layer, free of decomposing material, provides a much firmer, more stable platform for patio installation.

topsoil patio groundworks

Step 3: Check the Stability of the Sub-Grade

After clearing vegetation and topsoil, you’ll be left with the subsoil layer, also called the sub-grade. This layer needs to be firm and stable, so inspect it carefully for any soft, muddy, or loose spots, and dig these out as needed. A solid sub-grade is essential to support the patio without future sinking or shifting. The exposed sub-grade should be even, without high or low points, to ensure consistent patio stability.

Step 4: Measure for Depth and “Formation Level”

To accommodate a patio’s necessary layers, you’ll need to ensure enough depth in your foundation. Here’s how the layers typically add up for a sturdy patio foundation:

  • Sub-base (crushed aggregate): 100mm minimum
  • Laying course (sand or mortar bed): 25-40mm
  • Paving layer (flags, stones, or pavers): generally 20mm

Adding up these layers, a basic patio build-up will require at least 150mm of depth below your desired finished level.

Setting the Formation Level:

The formation level is the depth to which you excavate to start the patio’s build-up. For most patios, the formation level should be at least 150mm below the planned patio surface, or 300mm below the damp proof course (DPC) of any nearby structures. If your patio will be flush with indoor flooring near bi-fold or patio doors, additional waterproofing measures will be required to prevent moisture issues.

Step 5: Prepare for the Sub-Base Layer

Once the site is excavated and leveled, you’re ready to lay the sub-base. This layer, typically made of crushed stone or gravel, forms the foundation on which all other layers sit. A minimum of 100mm of compacted sub-base material will provide the strength and stability required for a durable patio.

The Right Preparation Means a Lasting Patio

porcelain patio

Taking these foundational steps seriously will help ensure that your patio stands the test of time. From clearing all vegetation to establishing a stable sub-grade and properly measuring depth, a little extra effort now will save you time and repairs down the road.

This article was written Joint-It, a leading provider of professional jointing and stone care products. For more landscaping tips and product recommendations, explore Joint-It’s range designed for patios, driveways, and more.

Recommended Posts